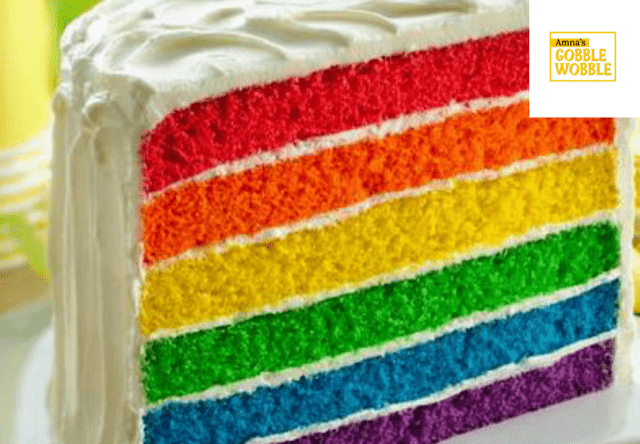
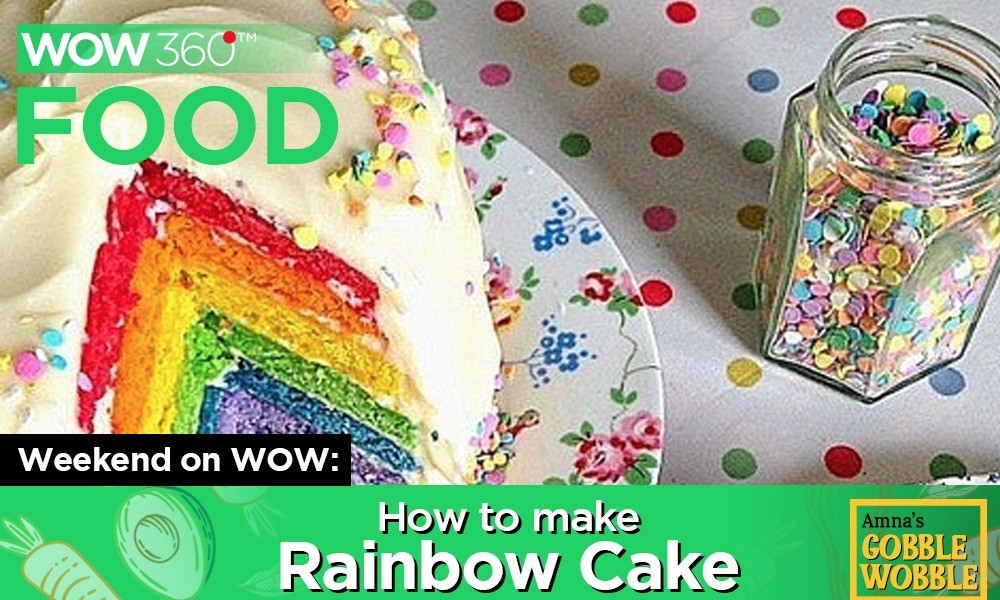
Do you want to make a show-stopping Rainbow Cake for your weekend get-together? It doesn’t just look gorgeous but also tastes perfect! Fun to make and a massive wow-factor, this cake is bound to go down a storm! You can thank me later.
Kids, adolescents, adults, and senior citizens adore it alike. Even complete beginners to baking have told me they’ve made this cake successfully; beat that! Be it any occasion, it’s easy, pretty, delicious, and awesome, and my Rainbow Cake never fails to make everyone smile!
Let me tell you now – this cake is finger-licking yum! The concentrated gel colors do not affect the flavor – a soft vanilla cake sandwiched together with delish thick cream cheese frosting – Oh my God!
Plunge into my cookbook right away!

Rainbow Cake
Prep Time: 60 minutes
Cook Time: 10 minutes
Servings: 15
Calories: 540
Ingredients:
For the cake
350g self-raising flour
3tsp baking powder
350g softened unsalted butter
350g caster sugar
6 large eggs
1 tablespoon vanilla extract
40ml milk – any kind
6 food gel colors
For the frosting
100g softened unsalted butter
250g cream cheese, at room temperature
600g icing sugar, sifted
Edible decorations
Instructions:
For the cake
First, preheat your oven to 360 degrees Fahrenheit and prepare your disposable tin foil cans by melting a couple of tablespoons of butter in the microwave and brushing the bottoms and sides of the cans with the melted butter. Set aside.
Use a stand mixer if you have one, but if not, don’t worry – get out your biggest bowl and a spatula.
Cream your butter and sugar until combined, light and fluffy – a couple of minutes of beating on high speed in a stand mixer. Then, add eggs one at a time, followed by a little of the flour, and mix well (with the mixer now on slow) before adding the remaining flour, baking powder, and vanilla extract.
If your mix is a little thick as mine was, add up to 40ml of milk – adding a tablespoon at a time and stopping when you get to a consistency that you’re happy with.
Choose 6 bright colors – I chose red, orange, yellow, green, blue, and purple.

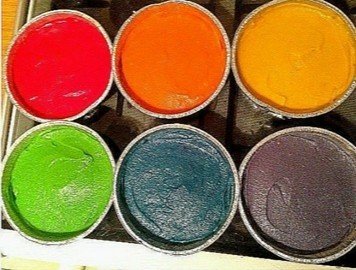
Next, divide your mix into 6 bowls (including your original bowl) to do your colors. Drizzle some gel color into each bowl and mix using a silicone spatula. Keep adding and mixing a little until you have the vibrant shade you want. I usually add around a teaspoon of each color. Ten minutes later, you’ll have a beautiful rainbow of cake batters!
Use a spatula to scoop all of your batters into a disposable can (per color, of course – don’t mix them up unless you want a tie-dye rainbow cake!). Use the back of a spoon to smooth down each cake – this will help them bake flat.
Pop them into the oven and keep a close eye on them – you don’t want them to get browned. I really recommend rotating your cakes so that none of them are on the top shelf of the oven for too long – you don’t want domed cakes ideally. I rotated my cakes on the oven shelves throughout the cooking time (mine took around 20 minutes total), taking them out as soon as a toothpick to the center came out clean.
When your cakes are cool, preferably wrap them in clingfilm and put them into the fridge for a day (or freeze for up to 2 days).
For the frosting

In a medium-large heatproof bowl, heat your 100g of butter in the microwave for 10-15 seconds. Next, take a whisk and whisk the butter thoroughly – at first, it will be very lumpy as there will still be some unmelted butter bits. Whisk vigorously until there’s only smooth, liquid butter. Add the cream cheese and whisk very well. Add in the icing sugar. Using a wooden spoon, gently fold the icing sugar in slowly. Make sure this frosting stays thick!
Put the frosting into the fridge to chill. As with the cakes, ideally, do this the day before you want to decorate the cakes.
To assemble
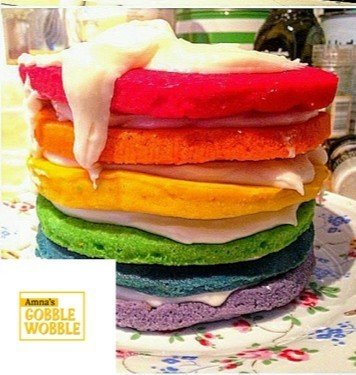
Put a little of the cream cheese frosting on the plate you’ll be using to adhere the first layer of cake. Pop it onto the center of the plate and then frost and put it on the next layer. Do not use too much frosting as the cake’s weight will push it out the sides of the cake – just a thinnish layer is best. After the first three layers, put the cake into the fridge for thirty minutes to chill.
Continue stacking the cake, taking care to position the layers as evenly as possible so that the sides of the cake are as straight as they can be. Apply a crumb coat of frosting to the cake, filling any gaps between layers. The colors of the cake will be very apparent but don’t worry. Chill for 1 hour.
Apply a second coat of frosting. Chill for 1 hour. Apply a third coat of frosting. Chill until set. Decorate your cake with colorful sprinkles or as you like.
Voila!
Tips & Tricks:
- To make a really bright and vivid rainbow cake, you need concentrated food colors. They’re called gel or paste colors, and you can find them at any good mart.
- Don’t have six same sized cake pans? You don’t need them! I use disposable tin foil cans available at marts.
- This recipe makes a 6 to 8 inch Rainbow Cake. If you’d prefer your rainbow cake to have thinner layers and be less skyscraper-like, use 8 inches can tins rather than 6 inches.
- This cake is very time-consuming, so you can make it in 2 days instead of 1 by freezing.
- You can increase or decrease the number of layers.
See you next week!
📧 amnahdigital@gmail.com
About the author: Amna Hamid is a Digital Marketing Strategist at Amreli Steels. Her food blog Gobble wobble will be featured weekly on the weekend on the WOW360 segment with a new and exciting recipe! Being an ardent foodie since childhood, Amna always wanted to have her own space on food and everything that revolves around it. (amnahdigital@gmail.com)
Stay tuned for more interesting articles and updates!
